Ripper Attachment for Tractor: Mastering Soil Tillage
Ready to significantly improve your soil tillage and unlock greater farming efficiency? This guide will equip you with the knowledge and techniques to maximize the use of your tractor's ripper attachment. We'll cover everything from selecting the right tool for your specific needs to mastering safe and effective operation, ensuring optimal soil preparation for healthier crops. For information on other tractor attachments, check out this helpful guide on box rakes.
Understanding Tractor Ripper Attachments
A tractor ripper is a robust tool designed to fracture compacted soil layers, creating channels that improve water infiltration, aeration, and root penetration. Unlike a plow that inverts the soil, a ripper tears through it, improving drainage and overall soil health. This leads to stronger, healthier plants with deeper root systems. Did you know that improved aeration alone can boost yields by up to 15%? This powerful tool is available in many variations, each designed for specific applications.
Types of Tractor Ripper Attachments
The type of ripper attachment you choose depends heavily on your specific needs and soil conditions. Several main types exist:
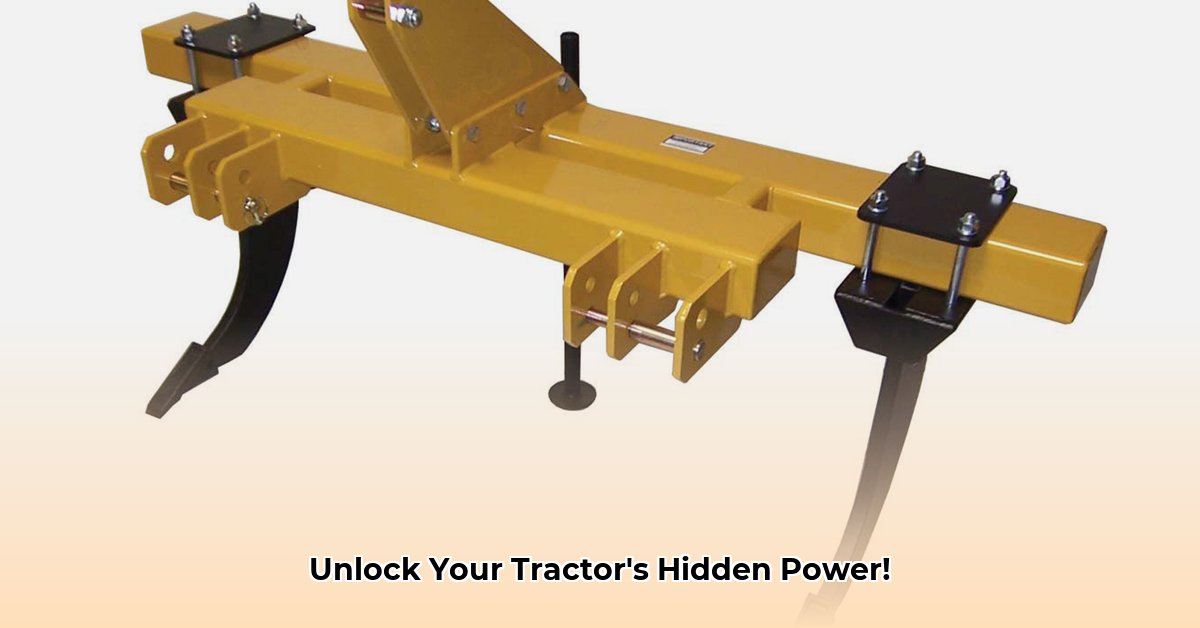
- Single-shank rippers: These are simpler, more compact rippers best suited for smaller tractors and smaller jobs. Their ease of use makes them a popular choice for beginners.
- Multiple-shank rippers: These high-capacity units are perfect for larger fields and more demanding soil conditions. Their multiple shanks allow for more efficient coverage, significantly reducing tillage time.
- Heavy-duty rippers: Designed for extremely hard, rocky soils, these are built to withstand the toughest conditions. They require powerful tractors for optimal operation.
The choice often comes down to a balancing act between the intensity of your soil conditions and the capabilities of your tractor.
Selecting the Right Ripper Attachment: A Crucial Decision
Choosing the correct ripper is paramount. Consider these vital factors:
- Soil Type: The texture and composition of your soil will determine the ripper's necessary strength and design. Rocky soils require heavy-duty rippers, while sandy soils may only need lighter models.
- Tractor Power: Ensure your tractor possesses sufficient horsepower to pull the ripper without strain or risk of damage. Consult your tractor's manual for power recommendations.
- Working Depth: The desired tillage depth dictates the shank length. Shorter shanks are suitable for shallower tillage, while longer shanks are necessary for deeper soil penetration.
- Number of Shanks: More shanks increase ground coverage, but also demand more power from the tractor. This requires a careful evaluation of your needs and the capabilities of your equipment.
"Selecting the appropriate ripper is a key step in achieving successful soil tillage," says Dr. Emily Carter, Agricultural Engineering Professor at Purdue University. "Failure to consider soil type and tractor capabilities can lead to inefficient operation or equipment damage."
Using Your Ripper Attachment Safely and Effectively: A Step-by-Step Guide
Safe and effective ripper operation hinges on following a structured approach:
- Pre-operation Inspection (Critical): Before starting, thoroughly inspect the ripper and tractor for any damage, loose parts, or wear. Pay close attention to hitch points and all connections. This step drastically reduces the risk of accidents or equipment malfunctions.
- Adjusting Working Depth (Precise): Set the depth according to your soil conditions and the specific job. Experimentation might be needed to discover the optimal setting.
- Engaging the Ripper (Controlled): Start the tractor slowly, gradually engaging the ripper once you're in motion. Avoid sudden movements to prevent damage.
- Maintaining Consistent Speed (Steady): Maintain a steady speed as recommended by the manufacturer. Erratic movements can strain equipment and compromise tillage quality.
- Observation and Adjustment (Adaptive): Monitor the ripper's performance; adjust the depth or speed as needed to ensure effective soil breakdown. Multiple passes may be required for optimal results.
- Post-operation Maintenance (Essential): After each use, clean the ripper thoroughly, lubricate moving parts, and store it correctly. Regular maintenance significantly prolongs the lifespan of your equipment.
Remember: Always wear appropriate safety gear, including eye protection and gloves.
The Upsides and Downsides of Using a Tractor Ripper
Like any tool, tractor rippers offer both advantages and disadvantages:
| Advantages | Disadvantages |
|---|---|
| Improved soil drainage and aeration | Requires a powerful tractor |
| Healthier plant roots | Potential for damage to underground utilities |
| Reduced soil compaction | Might require multiple passes for best results |
| Better nutrient availability for plants | Can be a significant upfront investment |
| Cost-effective way to improve your soil over time | Potential for soil erosion if not managed carefully |
Remember, regular maintenance is paramount to optimal performance and longevity. A well-maintained ripper translates to increased efficiency and better crop yields, returning your investment many times over.